Showing posts with label INSPIRATION. Show all posts

Tuesday, March 10, 2015

T-shirt Quilt Review

I recently had some of my favorite memories made into a blanket
 
The quilt options range from lap size to king size using 8x8 to 14x14 inch panels.
 They walk you through the entire process from preparation to shipping.
I opted for a lap quilt which required 16 panels.
 
It isn't required to cut apart all your shirts, only if there's a front and back graphic.
However, I chose to ship only the portions I wanted in the quilt
to save on shipping costs when sending them to the company.

 
It took 12 days from my sending the shirts to receiving my new quilt.
 I got to choose the backing color, which is a nice option.
 
My quilt is made from t-shirts I had in college, one made for me by my littlest sister.
Some of them are shirts that my boys have worn on difficult treks.
Some have traveled to far away places and back home again.
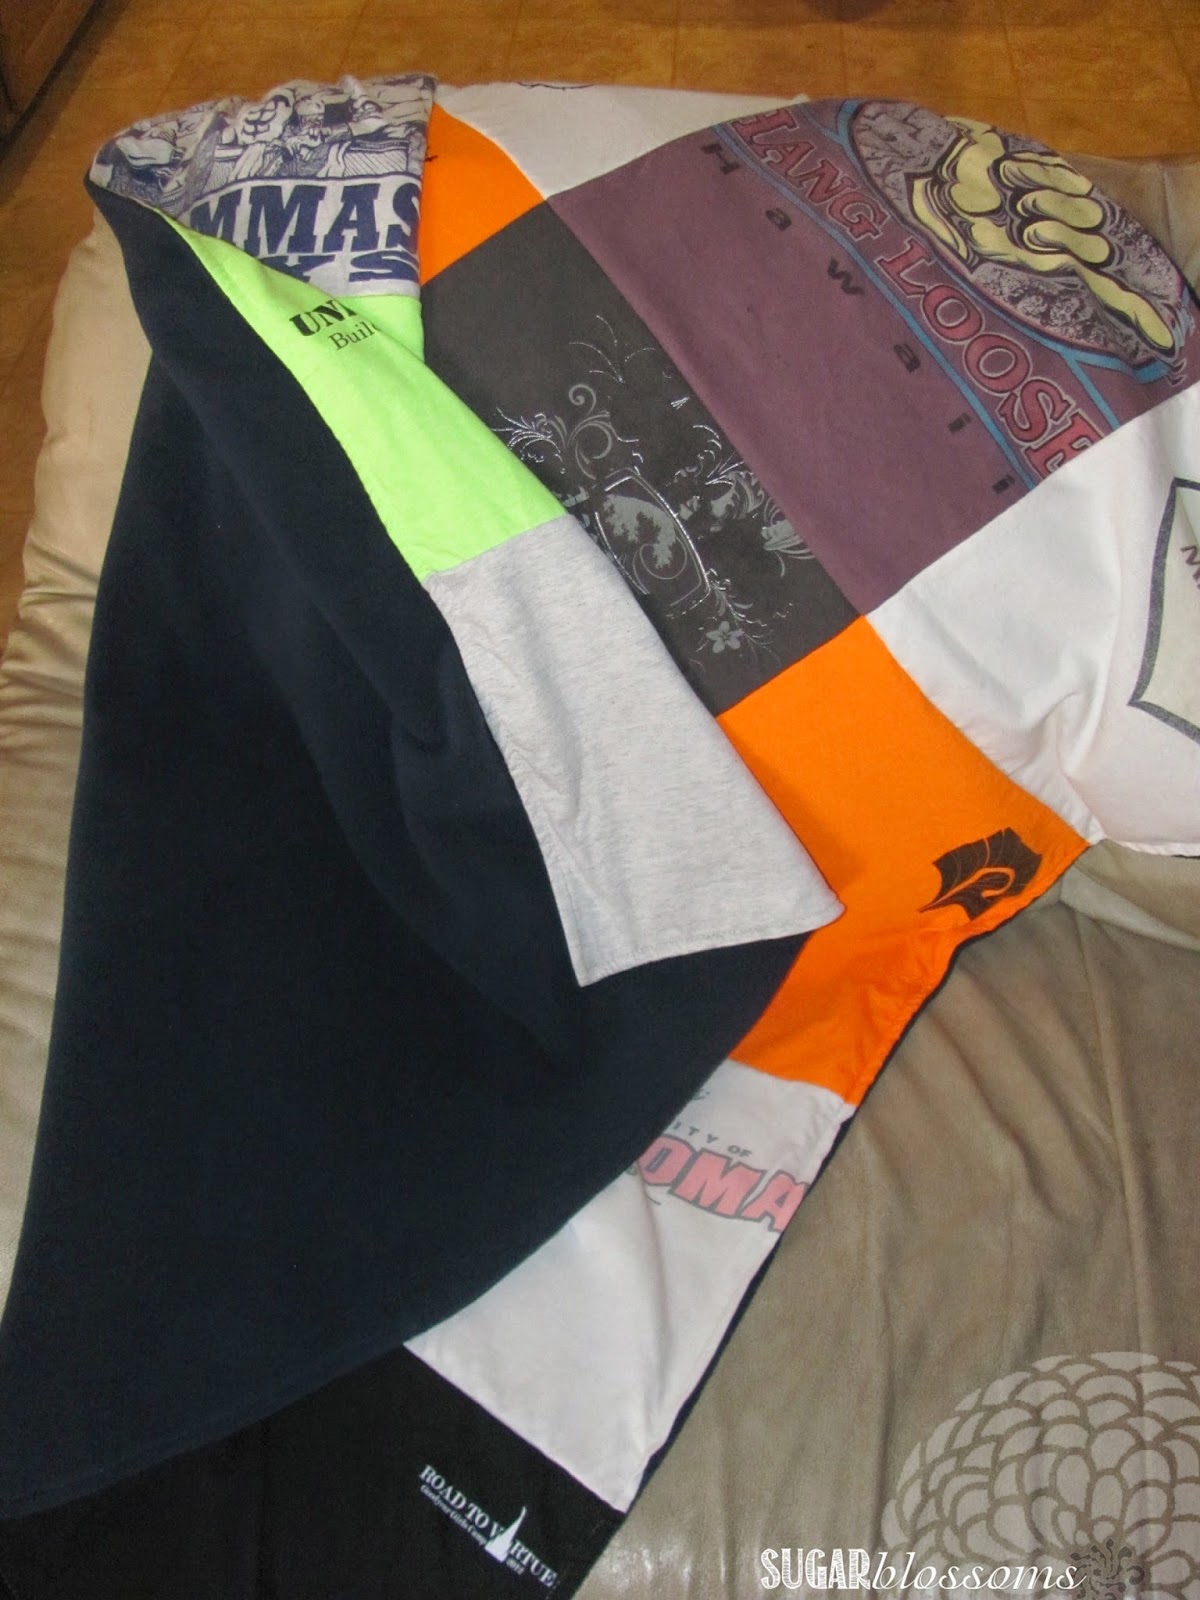
Each holds a fond memory or a very special place in my heart
I love it!
 
With Mother's Day, Father's Day and graduations on their way
I can't think of a more fitting way to keep your memories close than
with a t-shirt quilt from Project Repat.
post signature

Wednesday, December 3, 2014

Frozen-Inspired Snowflake Wreath

This Frozen-inspired candy cane wreath is a simple craft even kids can make!

Anyone that knows me will be shocked to see this post.
Being a mom of only boys, I haven't fallen under the Frozen spell.

However, as I was shopping the other night I was inspired to make this:
Brach has made blueberry candy canes ($1 a box at Wal-Mart) that are a beautiful shade of blue.
I thought of the candy cane wreath I made last year and this idea just hit me!
I couldn't help but think of Elsa; the colors are perfect!
I had to make it.
Plus, I love snowflakes. =)

Here are the simple directions with pictures to help you along:
1 - All you need is a glue gun, 2 boxes of blue candy canes (24 candy canes, total) and some sparkly embellishments (I got mine at Dollar Tree).

2 - Glue candy canes together in sets of that form a heart.

3 - You may want to measure them together before gluing to make sure they match up (notice how different they can be!).

4 - Go back over each connected piece with more glue for stability.
5 - Glue all candy cane sets together until you have 12 hearts.

6 - Place 6 candy cane hearts together to form the outer layer of a snowflake. Glue touching edges together.

7 - Place remaining 6 hearts on top of first layer in a circular fashion. I tried to highlight this second layer in the photo so you can get a good idea of their placement. Glue layers together in ALL the areas that touch (each top layer heart should touch the lower layer in 4 places).
Again, go back over each connected area with more glue for stability.

8 - Add embellishments as desired. I put a small "snowball" on each pointed tip and added a plastic snowflake in the center. Add a length of ribbon to the top for hanging and you're done!
 
It cost me a total of $3.00 and only took 35 minutes to make.

My 10-year-old made one without any help but even if your little ones are a little younger,
{like my little helper}
everyone will enjoy putting this together.
♫♪ "Do you want to build a snowflake?" ♫♪
 
If you'd like something more traditional, try this wreath
Let me know how yours turns out!
post signature